Creating and sending an email campaign (newsletter or other email) #
An email campaign is a one-off mailing that you send to a selected group of contacts in your CRM. Unlike email sequences or automations, you send a campaign manually at a moment you choose. That makes it ideal for newsletters, announcements, promotions or one-off updates to your contacts.
With campaigns you decide exactly who receives the email and when it goes out, and afterwards you can review detailed statistics on opens, clicks and unsubscribes.
Creating a new email campaign #
In your Autorespond administration, go to CRM & Emails → Campaigns and click Create new campaign. You start by setting the basic details of your campaign.
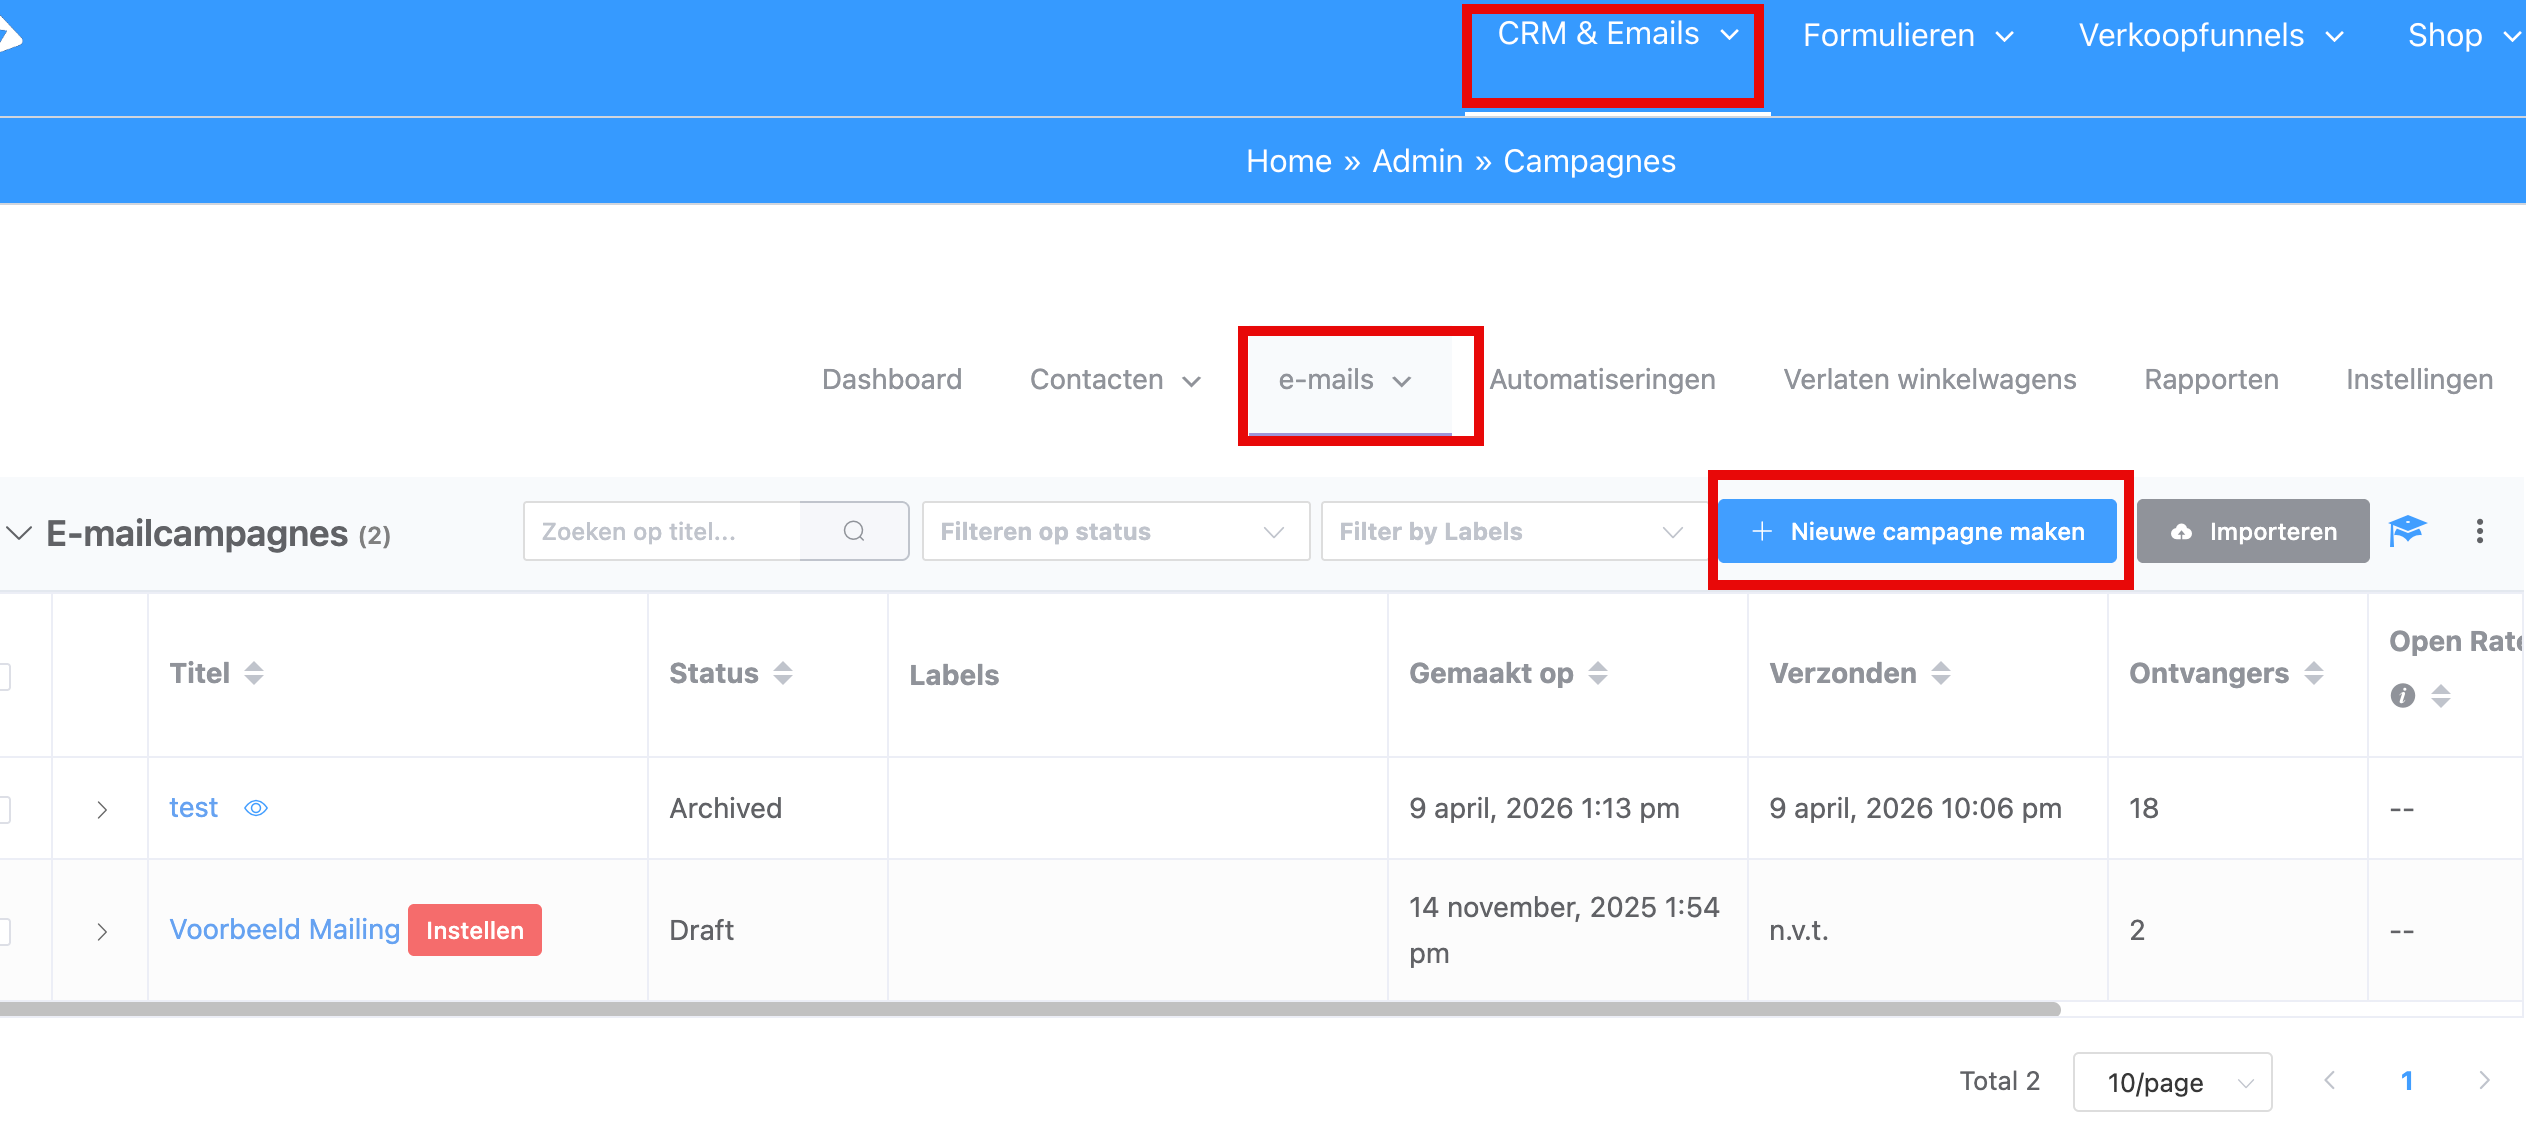
Enter a ‘campaign title’. This is an internal name so you recognise the campaign later, and it is not visible to recipients. Click Create campaign. You now work through a wizard with four steps.
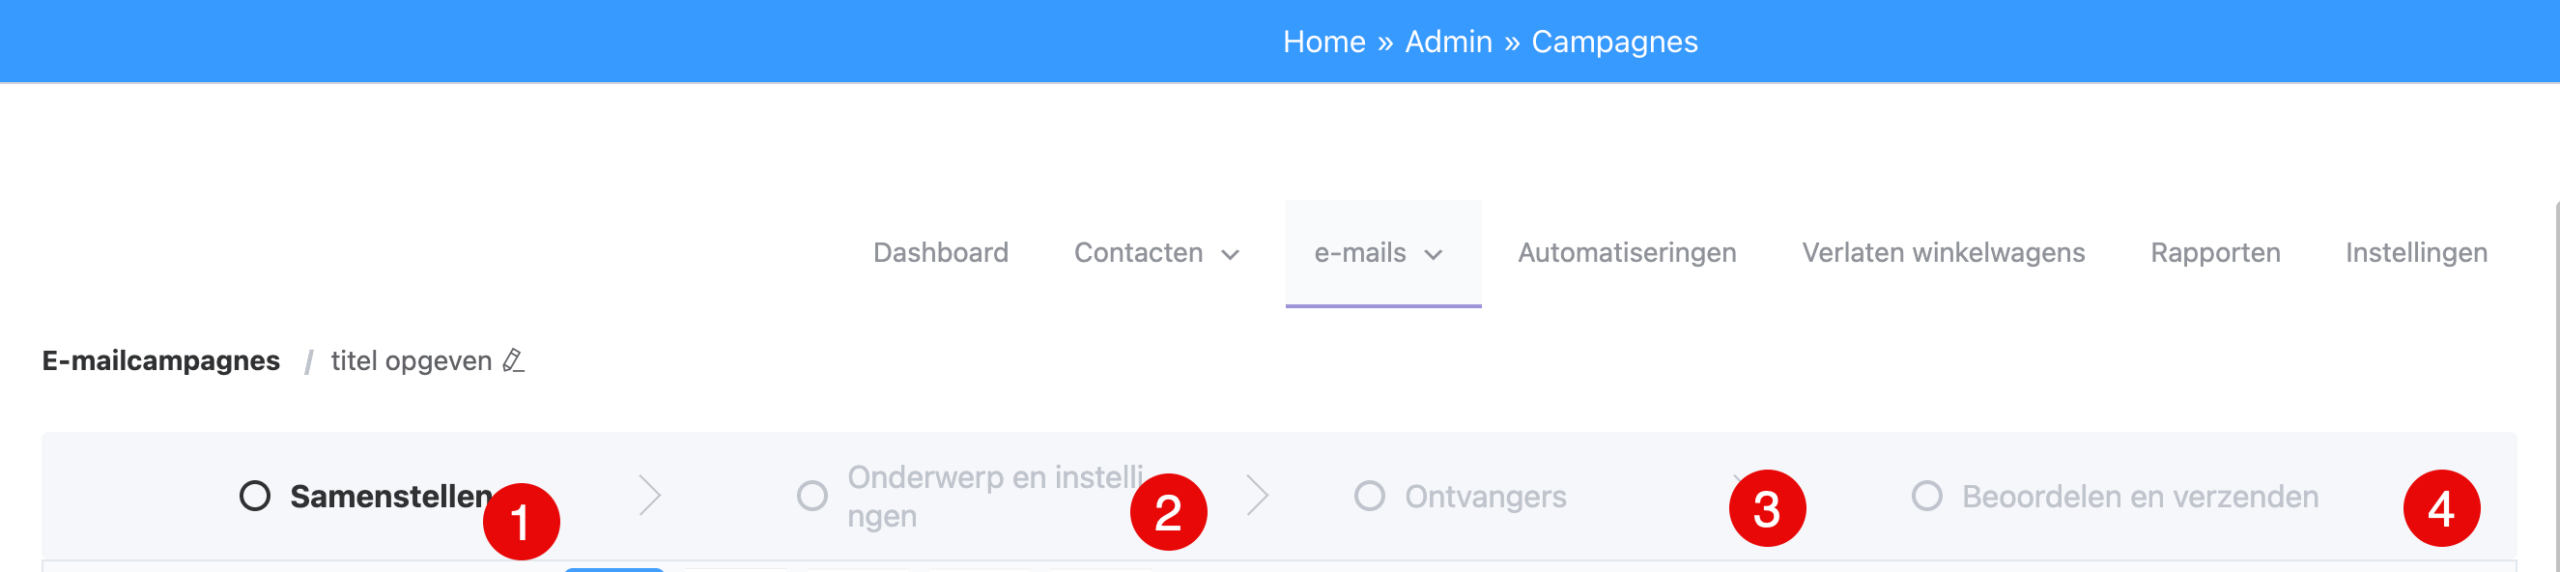
1. Compose; writing the email content #
You have several options here:
Choosing a template #
Select an existing email template or start from a blank one. If you send campaigns often, it is worth creating a reusable template with your house style, logo and standard layout. (You create templates under Menu CRM & Emails | Email templates)
Adding content #
Use the visual editor to add your content. You can insert text, images, buttons and other elements. The editor also supports dynamic content through smart codes, variables that are replaced automatically with contact details such as {{first_name}} or {{email}}.
Personalisation #
Make your emails more personal by using smart codes. Popular options are:
- {{first_name}}, the recipient’s first name
- {{full_name}}, the full name
- {{company}}, the company name
- {{email}}, the email address
Click ‘Save’ if you want to save partway through. You can still change your text later. The button ‘Continue [subject and settings]’ takes you to the next step.
2. Subject and settings #
- Email subject, the subject line recipients see in their inbox
- Preview text, the text shown next to the subject in many email programs
- Sender name, the name recipients see as the sender
- Sender email address, the address the campaign is sent from
For good deliverability, use the default sender address set in your Autorespond administration. Only change it if you are certain the new address is configured correctly.
Now use the green button at the bottom, ‘Continue to the next step [recipients]’
3. Recipients #
In the Recipients tab you decide exactly who receives the campaign. There are several ways to define your audience:
Selecting lists #
Choose one or more lists that contacts are subscribed to. This is the most common method for newsletters and general campaigns.
Using tags #
Select contacts on the basis of tags. This is useful for targeted campaigns to specific audiences, for example every contact with the tag “interested-in-product-x”.
Advanced filters #
Combine several criteria such as location, creation date, most recent activity or custom fields. That lets you build very specific audiences.
Setting exclusions #
Exclude particular groups from your campaign, for example contacts who recently received a similar email or contacts with specific tags.
Click the green button at the bottom, ‘Continue to the next step, Review and Send’
4. Review and send #
Once you have written the content and selected your recipients, you move to the Review & Send tab.
You get a summary of your settings. You can send a test email, and it is worth checking it carefully. If there are any invalid links in your text, you can correct them here. At the bottom you can schedule the mailing.
Sending immediately #
Choose Send now to send the campaign straight away to all selected contacts.
Scheduling for later #
Select Send later and choose a date and time. This is useful when you want to prepare campaigns and send them at a strategic moment.
Sending in batches #
For large campaigns you can choose staggered sending. This spreads the emails over a period instead of sending them all at once, which is better for server load and for your email reputation.
Test send #
Before you send a campaign to everyone, it is sensible to run a test:
- Click Send test email
- Enter your own email address (or that of a colleague)
- Check that everything displays correctly
- Test every link in the email
- Check how the email looks on mobile and on desktop
Fix any problems before you send the campaign for real.
Viewing campaign statistics #
After sending your campaign you can view detailed statistics under CRM & Emails → Campaigns. Click a campaign (on the eye icon) to see the results:
- Sent, the number of emails sent successfully
- Opened, the percentage of recipients who opened the email
- Clicked, the percentage who clicked a link in the email
- Unsubscribed, the number of contacts who unsubscribed
- Bounce rate, the percentage of emails that could not be delivered
The detailed reports also show which contacts opened or clicked, and which links get the most clicks.
Tips for successful campaigns #
For better results from your email campaigns:
- Use an appealing subject line that sparks curiosity
- Keep your content short and easy to scan
- Always include a clear call to action
- Test different send times to discover when your audience is most active
- Segment your list so the content is more relevant per audience
- Check your campaigns regularly on mobile
Email campaigns in Autorespond are based on FluentCRM Pro, which is included in your package. Read the English documentation


