Making images the same size in email newsletters #
A common problem when creating newsletters is that images look messy because they have different sizes. Here you learn how to give all images a uniform appearance.
Email templates in Autorespond are based on FluentCRM Pro, included in your package.
Preparing images before uploading #
You get the best results by preparing images before you upload them:
- Give all images the same width (for example 600px wide)
- For images in a grid: make sure the height is the same as well (for example 400px high)
- Reduce the file size with a tool such as tinypng.com (max 100kb per image)
- Use the same file format for all images (for example only .jpg or only .png)
This preparation makes your images look more professional straight away and they load faster for your readers. With images side by side in a grid, an equal height keeps the row neatly aligned.
If you have images generated with AI inside the editor, you can state the dimensions in the prompt:
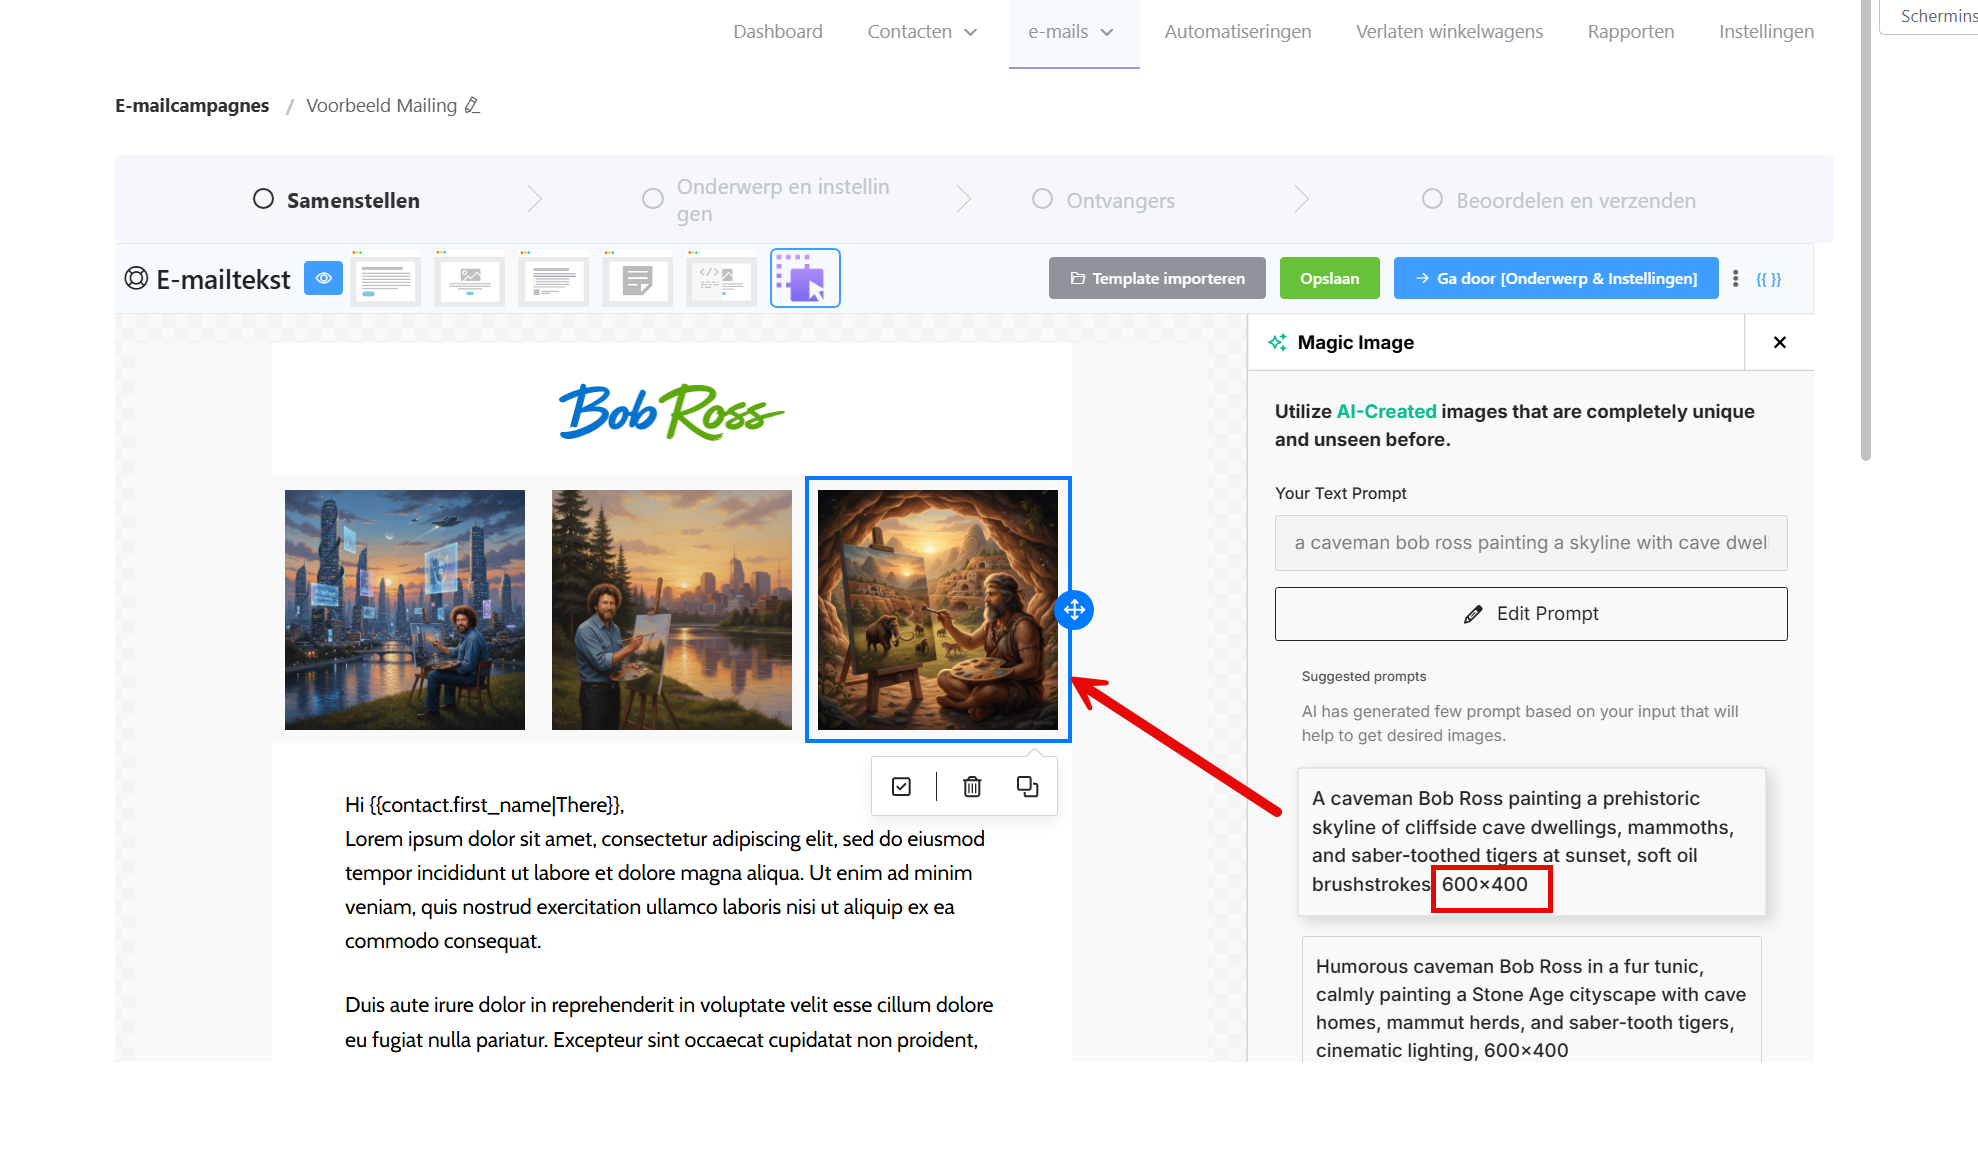
Setting the image size in the email editor #
In the visual email editor you can adjust the size per image, but we recommend keeping this on the default settings (100% width), because the image is then responsive and displays well on different screen sizes
- Click the image in your email
- Go to the settings panel on the right
- Set a fixed width under ‘Width’ (for example 300px)
- Switch ‘Auto Width’ off if you want a specific size
- Repeat this for all images in your newsletter
Tip: the default 100% width is usually the best setting
Using templates for consistent layout #
Create a basic template with fixed image boxes:
- Go to CRM & Emails → Email Templates
- Create a new template
- Add image blocks with fixed dimensions
- Save the template
- Use this template as the basis for future newsletters
When you add images to this template, their width adjusts automatically to the size you set in advance. See also how to manage email templates for more options.
Using an image grid #
For several images side by side you can use an image grid:
- Drag a ‘Columns’ block into your email
- Choose the number of columns (2, 3 or 4)
- Add an image in each column
- All images automatically get the same width
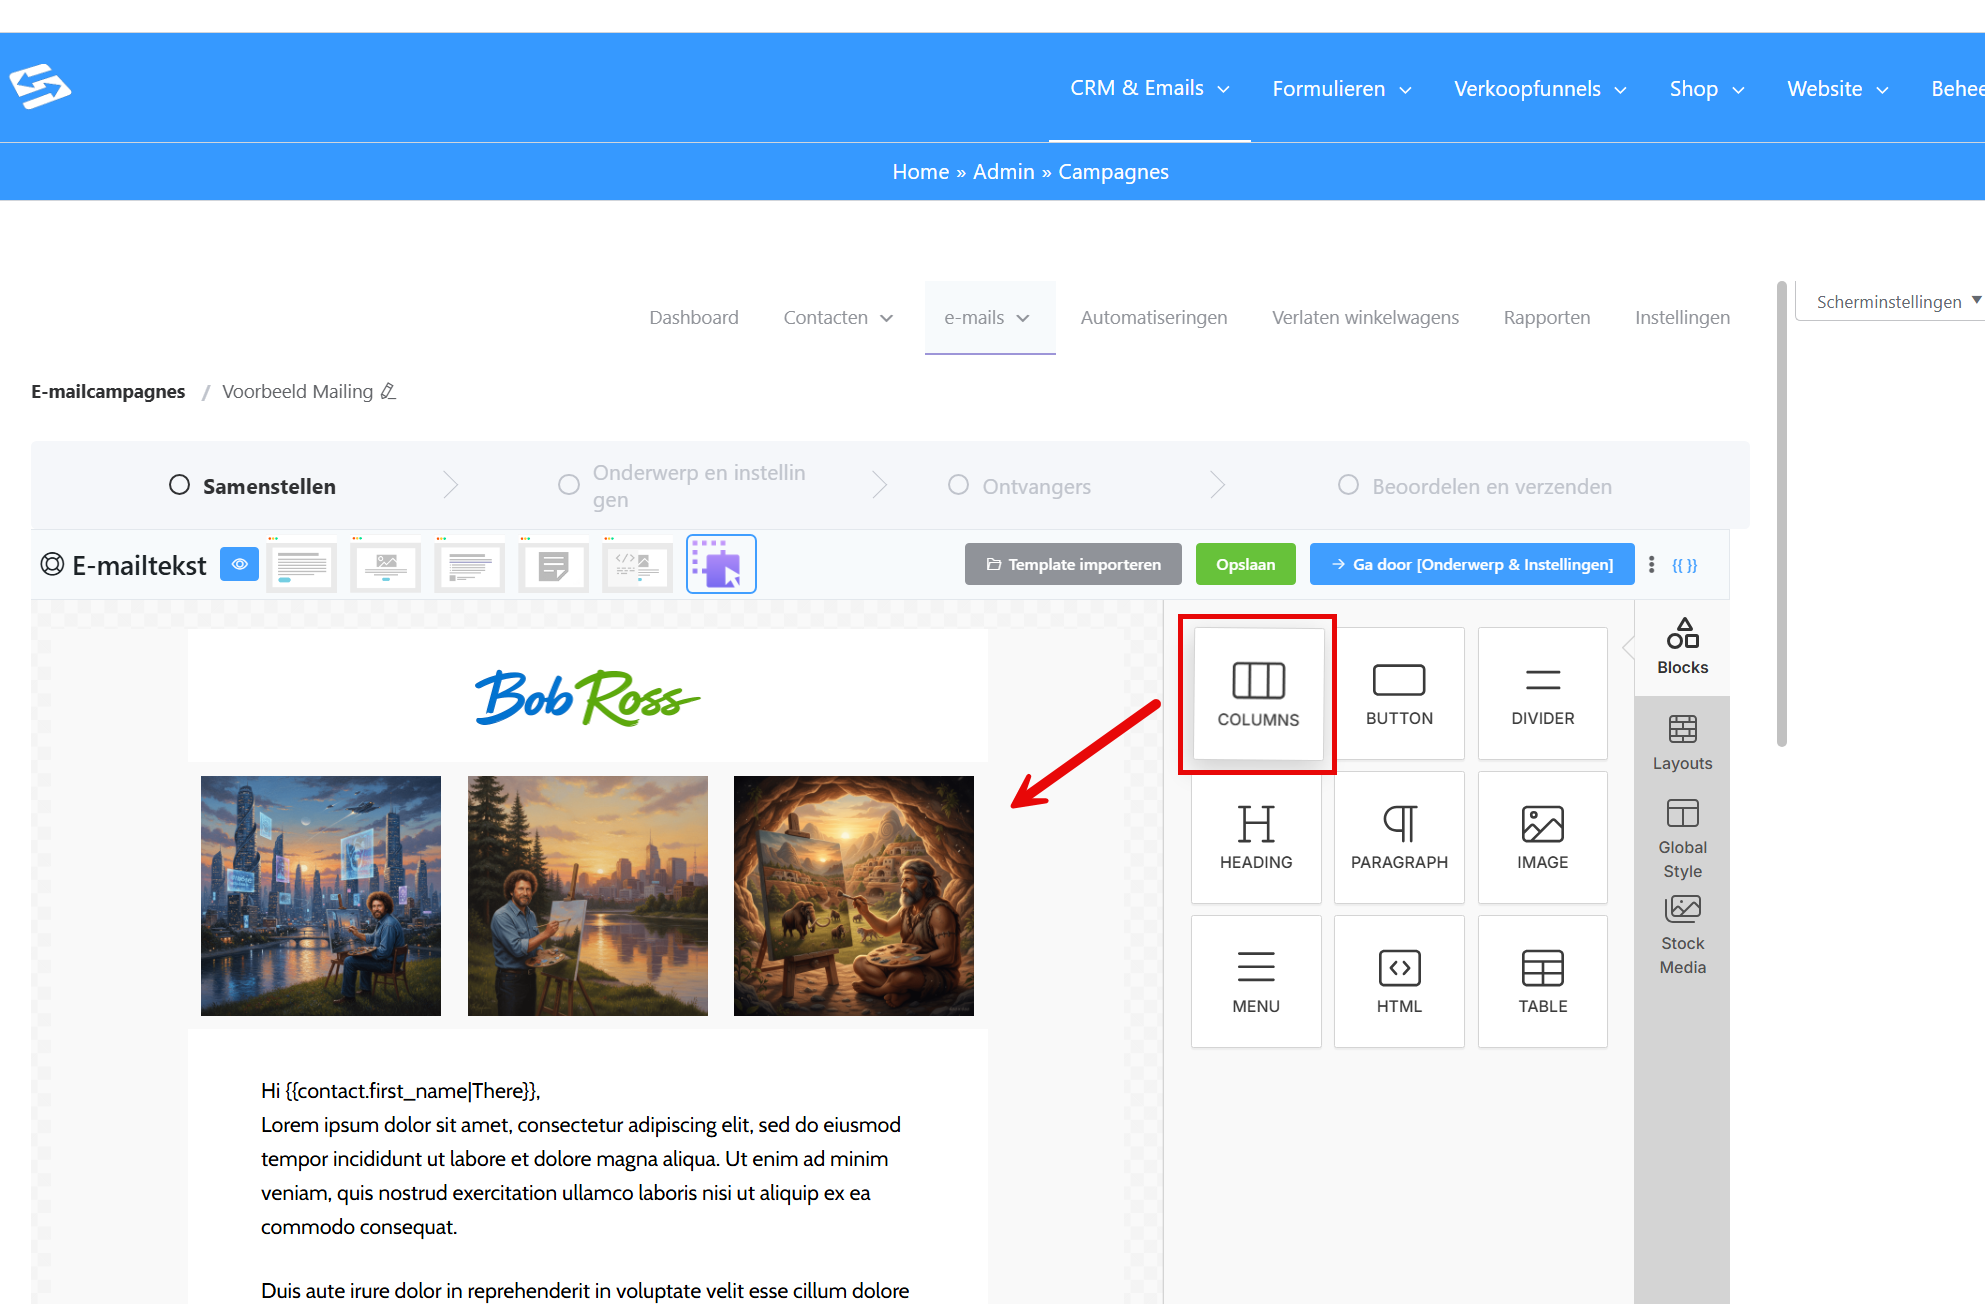
This is handy for product photos, team photos or a photo collage. For the best alignment, make sure all images in the grid also have the same height before you upload them.
Frequently asked questions #
Why do my images look blurry in the newsletter? #
This often happens when your images are too small and get stretched. Always upload images at the width you want or larger: scaling down works better than stretching.
What is the maximum number of images I can put in a newsletter? #
There is no hard limit, but do keep loading time in mind. More than 5-8 images can make the newsletter slow, especially on mobile devices.
Can I have images cropped automatically to a certain size? #
The email editor has no automatic cropping function. You have to prepare images manually or use an external tool to crop them to the dimensions you want.


