Would you like all your forms to have the same look, with your colours, your button style and your font sizes? Then you do not have to set up each form separately. In this article you can read how to style one form exactly as you want it and then transfer that style to all your other forms in a few clicks.
1. Step 1: Open Preview & design and choose a template as your starting point #
Go to Forms → Forms, open the form that you want to use as your ‘parent form’ and click Preview & design at the top right. The design panel appears on the right. At the top, under Form style template, choose a preset as your starting point, for example Modern (Light) for generous margins or Default for a compact style:
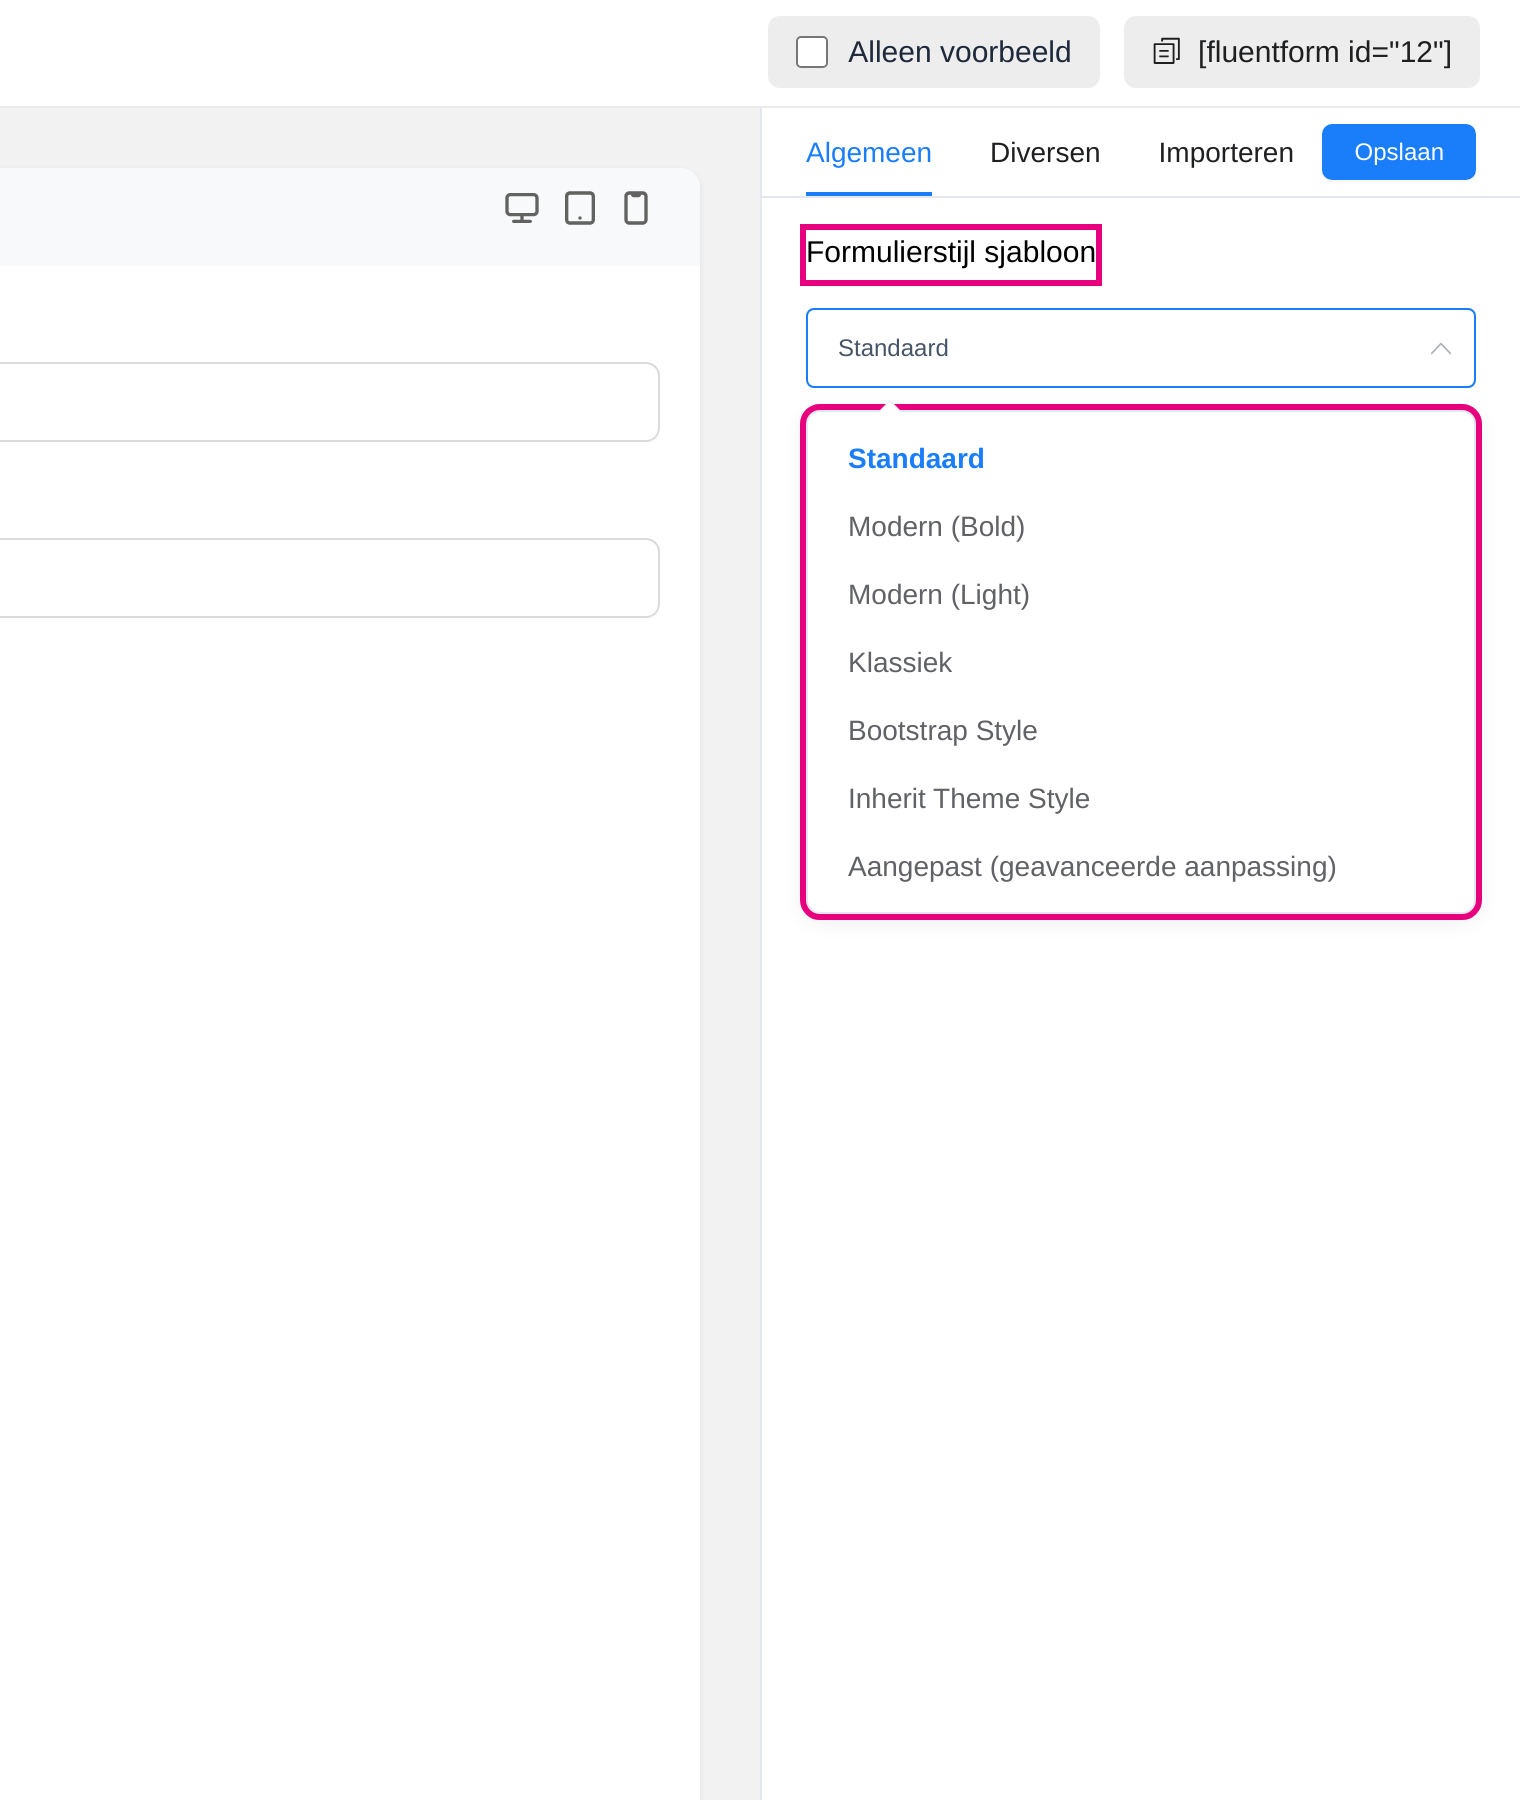
Good to know: as soon as you change even one setting of a preset, the template choice changes to Custom (advanced customisation). That is normal and does not mean that you have lost your settings: the template is only the starting point, and ‘Custom’ indicates that your own settings now apply. Everything you have set is simply retained.
2. Step 2: Adjust the style to your house style #
Tick Customise selected preset. Sections now appear for each part of the form. The most important ones for your house style:
- Submit button style: on the Normal tab, set the text colour and background colour of the button (enter the hex code of your branding colour here, for example #e6007e), and on the Hover tab the colour the button takes on when a visitor moves the mouse over it. The button height, width and typography are set here as well.
- Input & Text Area: the styling of the input fields. Increase the inner spacing (padding) and the text size here and all the fields of the form grow along in one go.
- Label styles and Container styles: the field labels and the space around the form.
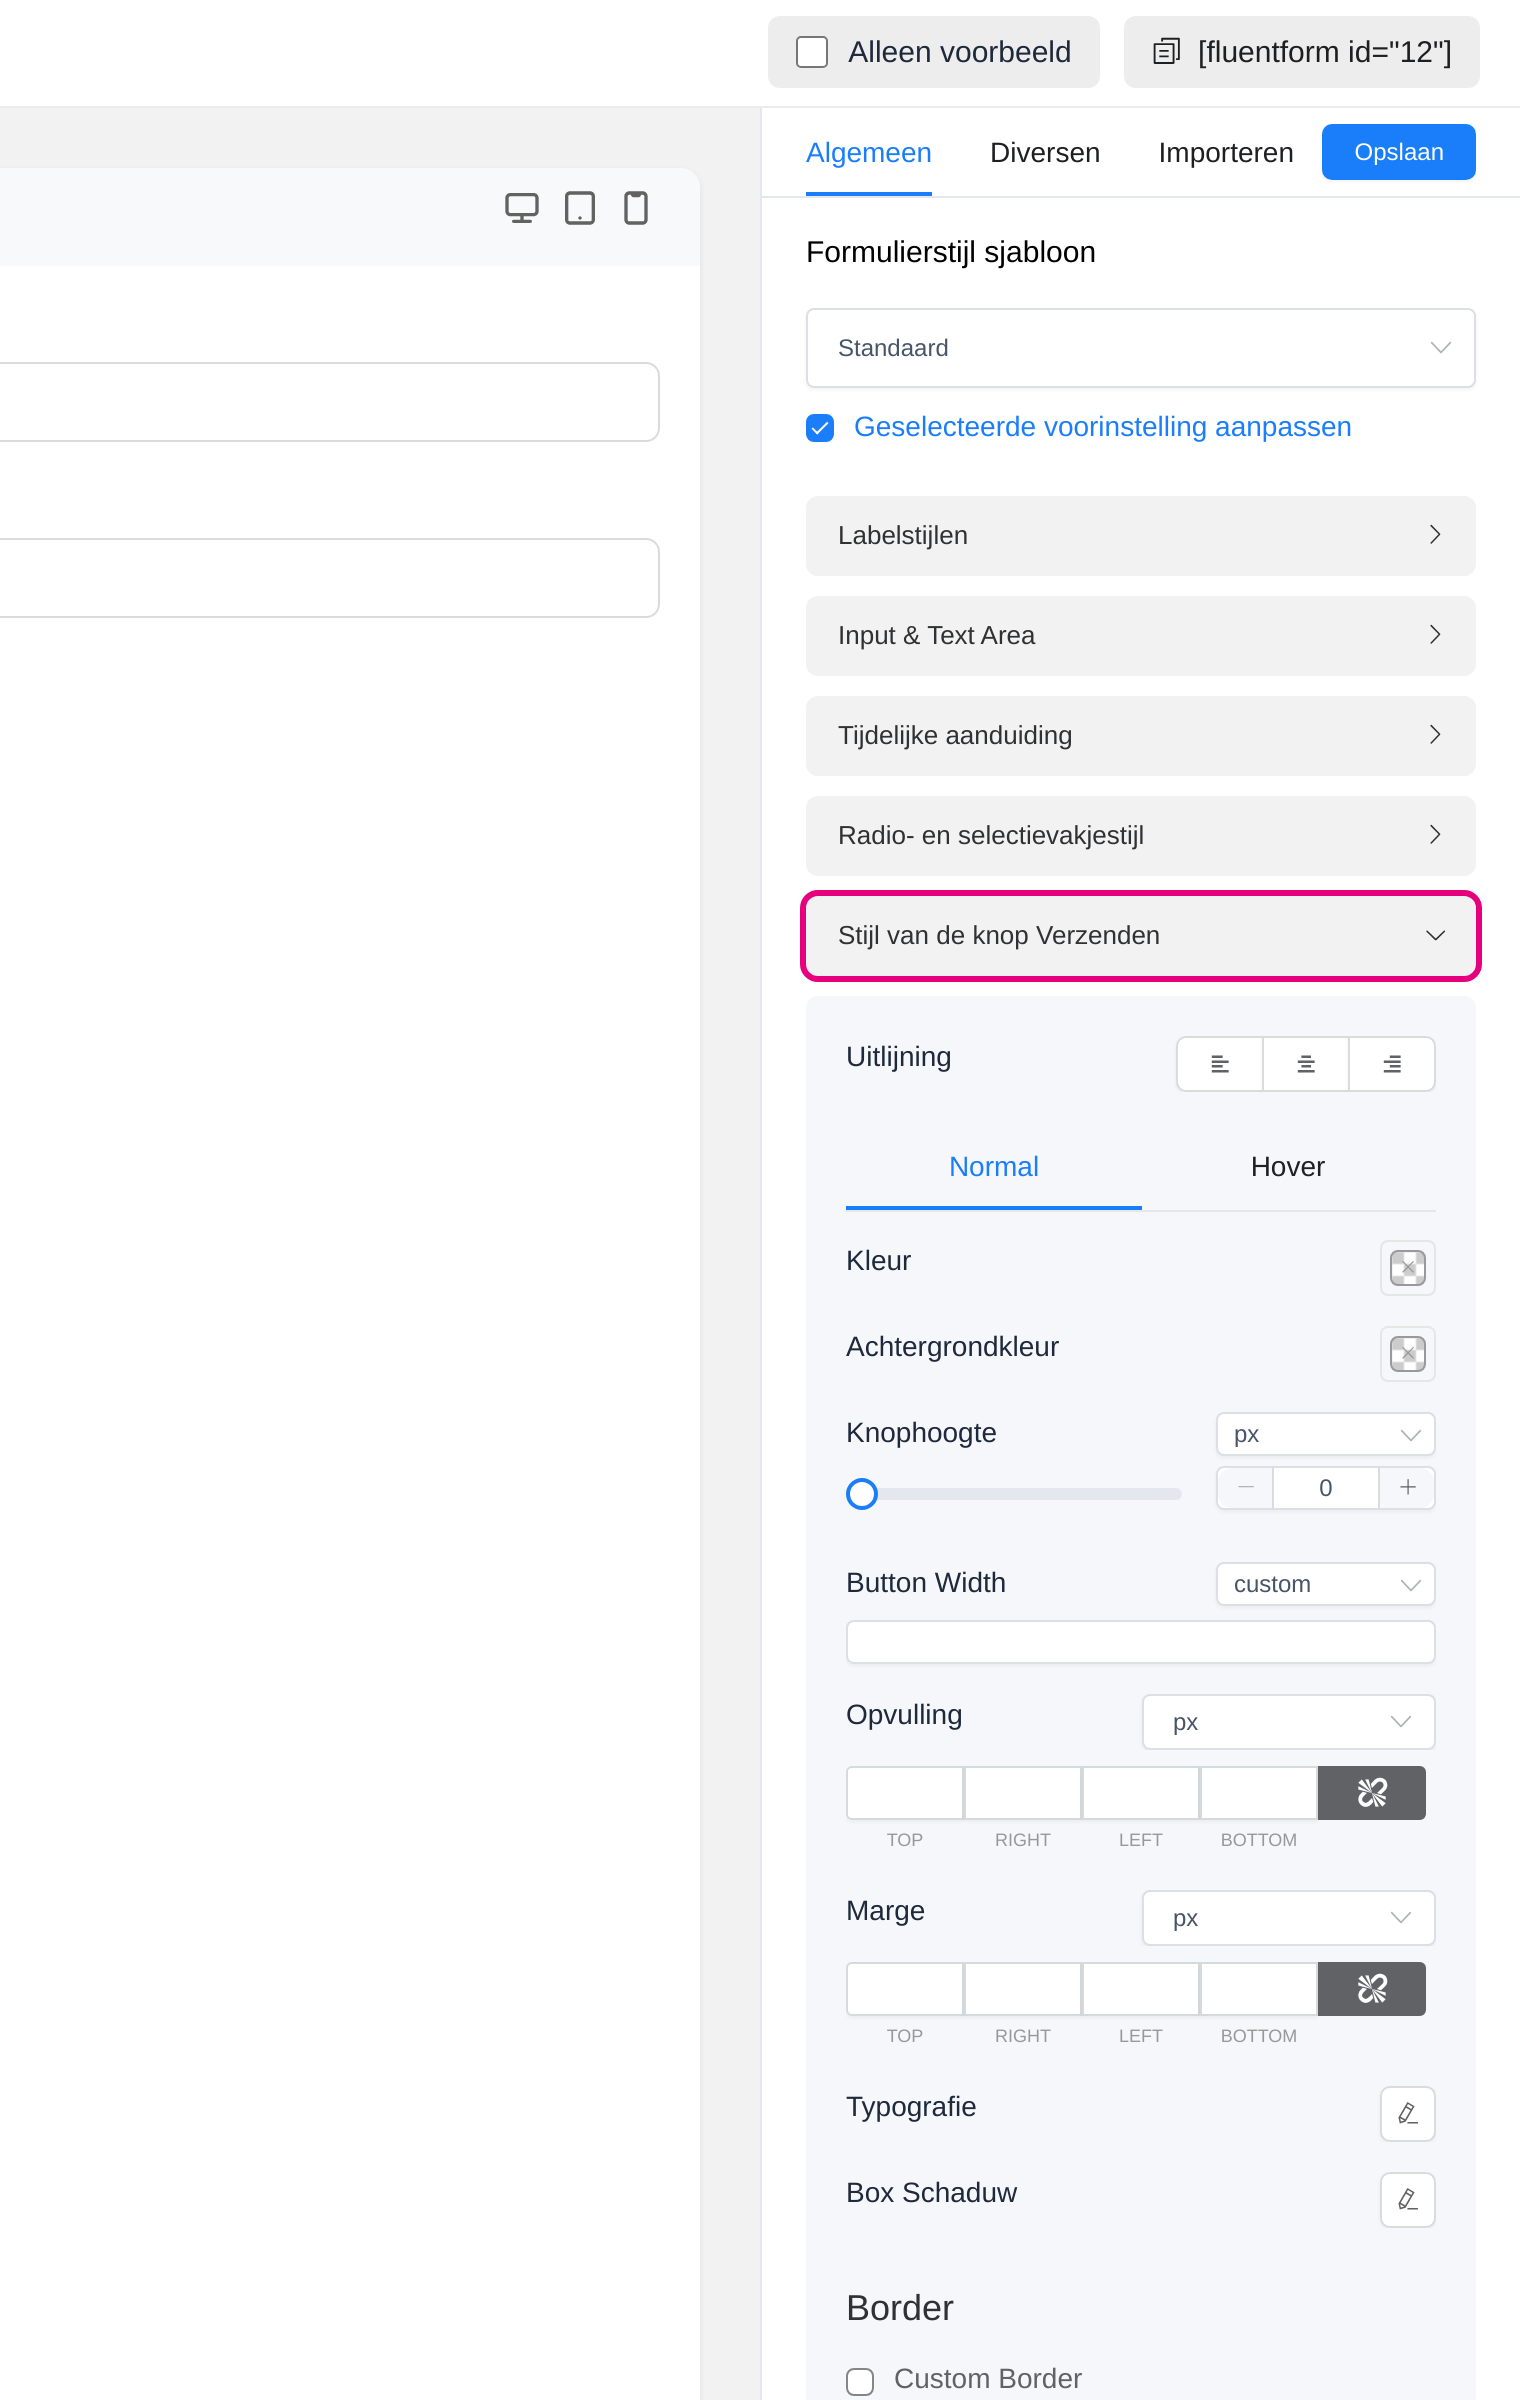
You see every change straight away in the preview on the left. Click Save when you are happy with it.
3. Step 3: Transfer your style to your other forms in one go #
Now comes the best part. Open one of your other forms, click Preview & design again and click the Import tab at the top of the design panel. Under Import styles from another form, choose your parent form and the complete style is taken over: colours, button style, field sizes, everything.
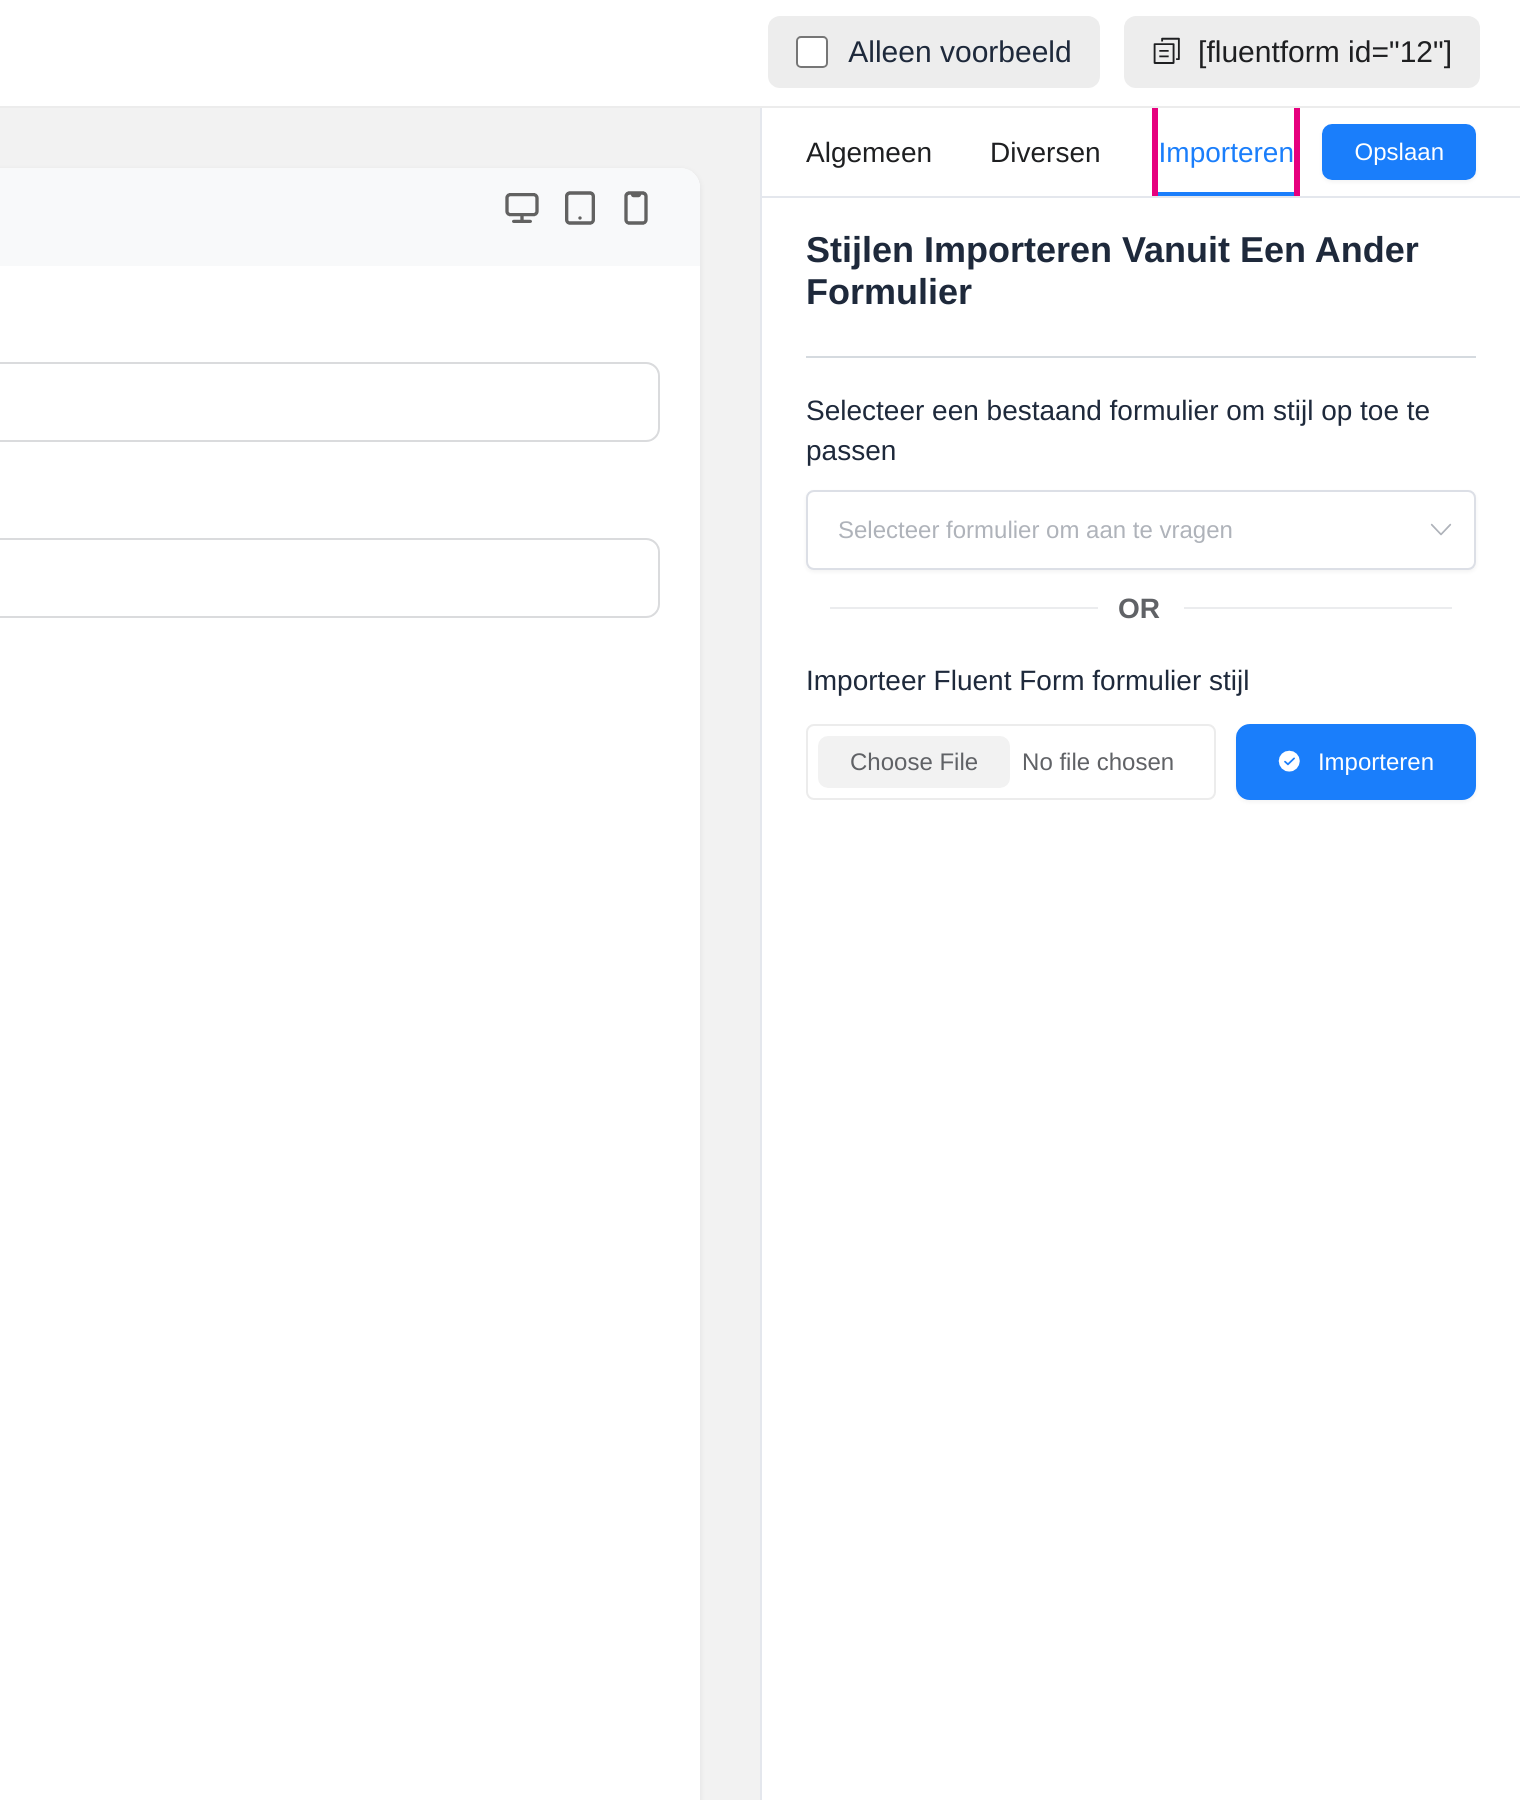
Repeat this for every form that should get the same look. This way you apply your house style to ten or more forms in a few minutes, without typing a single colour code anywhere. Do you adjust your style later on? Then update the parent form and import the style into the other forms again.
4. Good to know #
- Duplicating is an option too. If you are creating a completely new form, you can also duplicate your styled form (Forms → move over the title → Duplicate); the style then comes along automatically. For existing forms with their own fields, the import route above is the right one.
- Is your form on an external website with the iframe code? Then you will see the new style there as well. If you do not see a change straight away, refresh the page and clear the cache of your external website if necessary.
Frequently asked questions #
Why do I not see the branding colours from the customizer in my form? #
The customizer styles your website: pages, menus and ordinary buttons. Forms deliberately have their own styling, separate from the theme, because they are also shown outside your website, for example via the iframe code on an external website or on their own landing page, where the styling of your theme is not available. So set your house style once in the form style (step 2) and transfer it to all your forms with the import function (step 3). You adjust the house style of your website itself via Website → Website Settings (the customizer); see for example Changing the logo in the website header.
My template has suddenly switched to “Custom (advanced customisation)”, have I lost something? #
No. As soon as you change one setting of a preset, the template choice changes to Custom. That only means that your own settings now apply; everything you have set is retained.


