Spaces are the rooms of your community: places that each have their own purpose, such as a welcome space, a questions space or a space where members share their work. With space groups you organise them in the sidebar. In this article you create spaces, set them up with an emoji, cover image and description, and decide who may post.
The community and course features in Autorespond are based on FluentCommunity, included in your package. Read the English documentation
1. Work out your structure (starting small wins) #
The biggest beginner’s mistake is too many spaces: ten empty rooms feel like an abandoned building. Start with three to five spaces that each have a clear function, for example:
- Start here, new members introduce themselves and read how everything works.
- Updates, your announcements (administrators only post, see step 4).
- General space, the sociable living room for everything in between.
- Questions & answers or Share your result, depending on your field.
Growth happens by itself: only split a topic off into its own space once the existing spaces get too busy.
2. Creating and setting up a space #
- Open your portal, go to Spaces and click the button to create a new space.
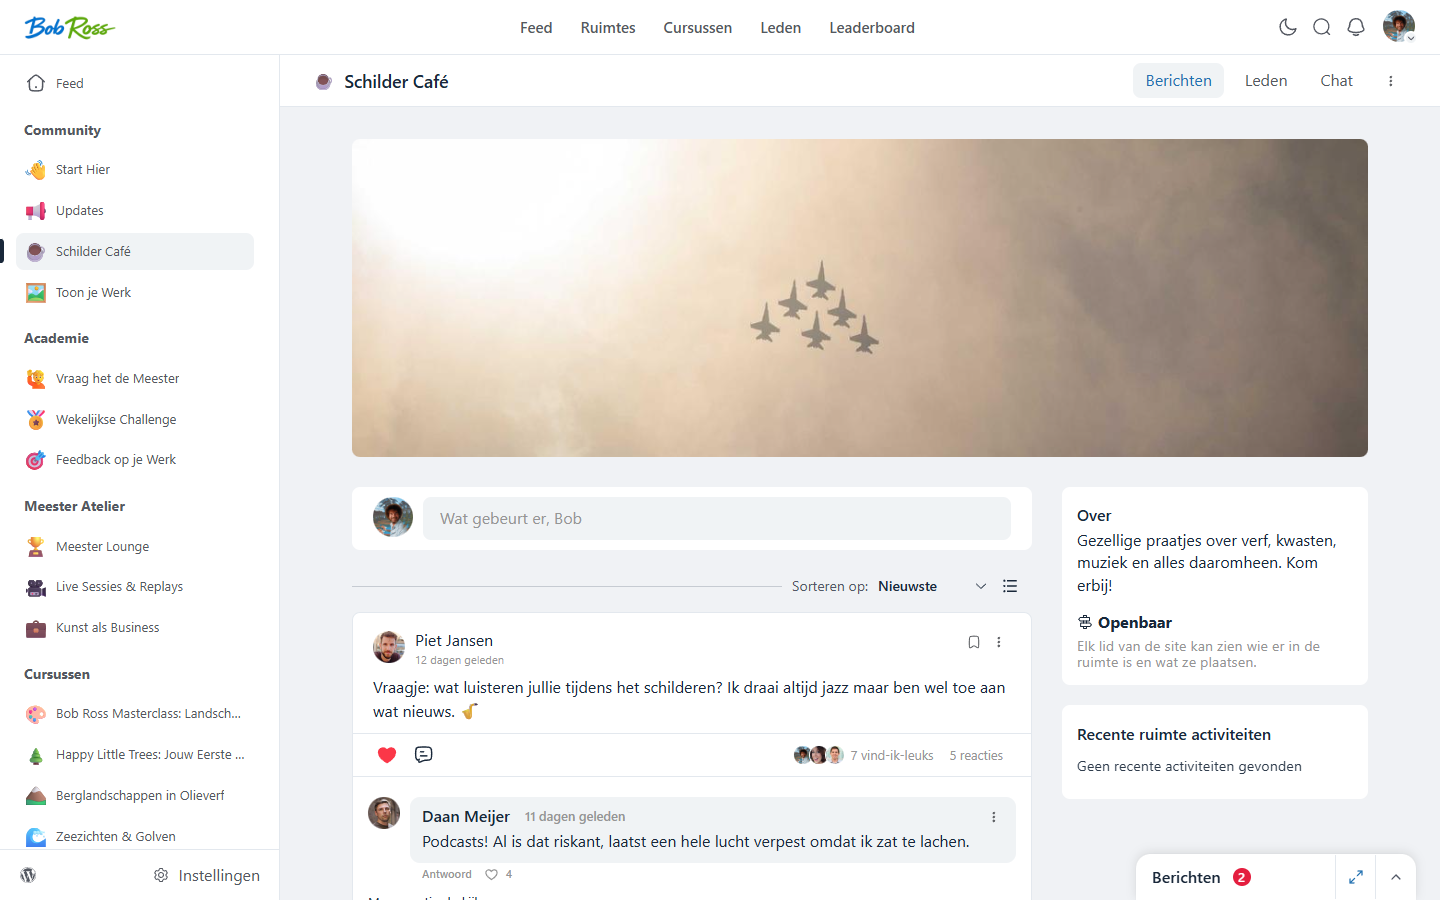
- Give the space a name and a short description that says what members can do there (“Share your latest work and get responses from the community”).
- Choose an emoji as an icon, which makes your sidebar readable at a glance (☕ for the coffee corner, 🙋 for questions).
- Upload a cover image for the header of the space. Use the same visual style for all spaces for a calm whole.
- Choose the privacy: public, private or secret. How you build membership levels with this is covered in the article on access control (related articles).
- Choose the space group the space appears in within the sidebar. You create and order groups under Settings → Space groups.
3. Members and roles within a space #
Open the member overview within the space. There you can add or remove members and give each member a role: moderator (may manage posts in this space) or administrator of the space. Appointing an active customer as moderator of “their” space is a fine reward and lightens your own workload. Large numbers of members are better added automatically through tags, see the article on access control.
4. An announcement space: administrators only post #
For an Updates space you want only you and your team to be able to post, while everyone may read and comment. To do that, switch on the option in the space settings that limits posting to administrators and moderators. Your announcements then stay clear and do not drown among member posts.
5. Sidebar links: give a space its own shortcuts #
Every space can show its own links in the sidebar of that space, for example to your appointments page, a roadmap or a workbook. Open the settings of the space, add a title, emoji and URL per link, and decide whether it opens in a new tab. Tip: within the portal, preferably link to pages with the FluentCommunity Frame template, so members do not leave the portal, see the article on adding pages.
Frequently asked questions #
Can I move a space to another group? #
Yes, change the space group in the settings of the space. You drag groups and spaces into order under Settings → Space groups.
What happens if I delete a space? #
The posts in that space disappear with it. Consider archiving the space or merging it with another space instead, and announce that in advance.
Can members create spaces themselves? #
No, you (or your team) create spaces. Members can join public spaces and, depending on your settings, request access to private spaces.


